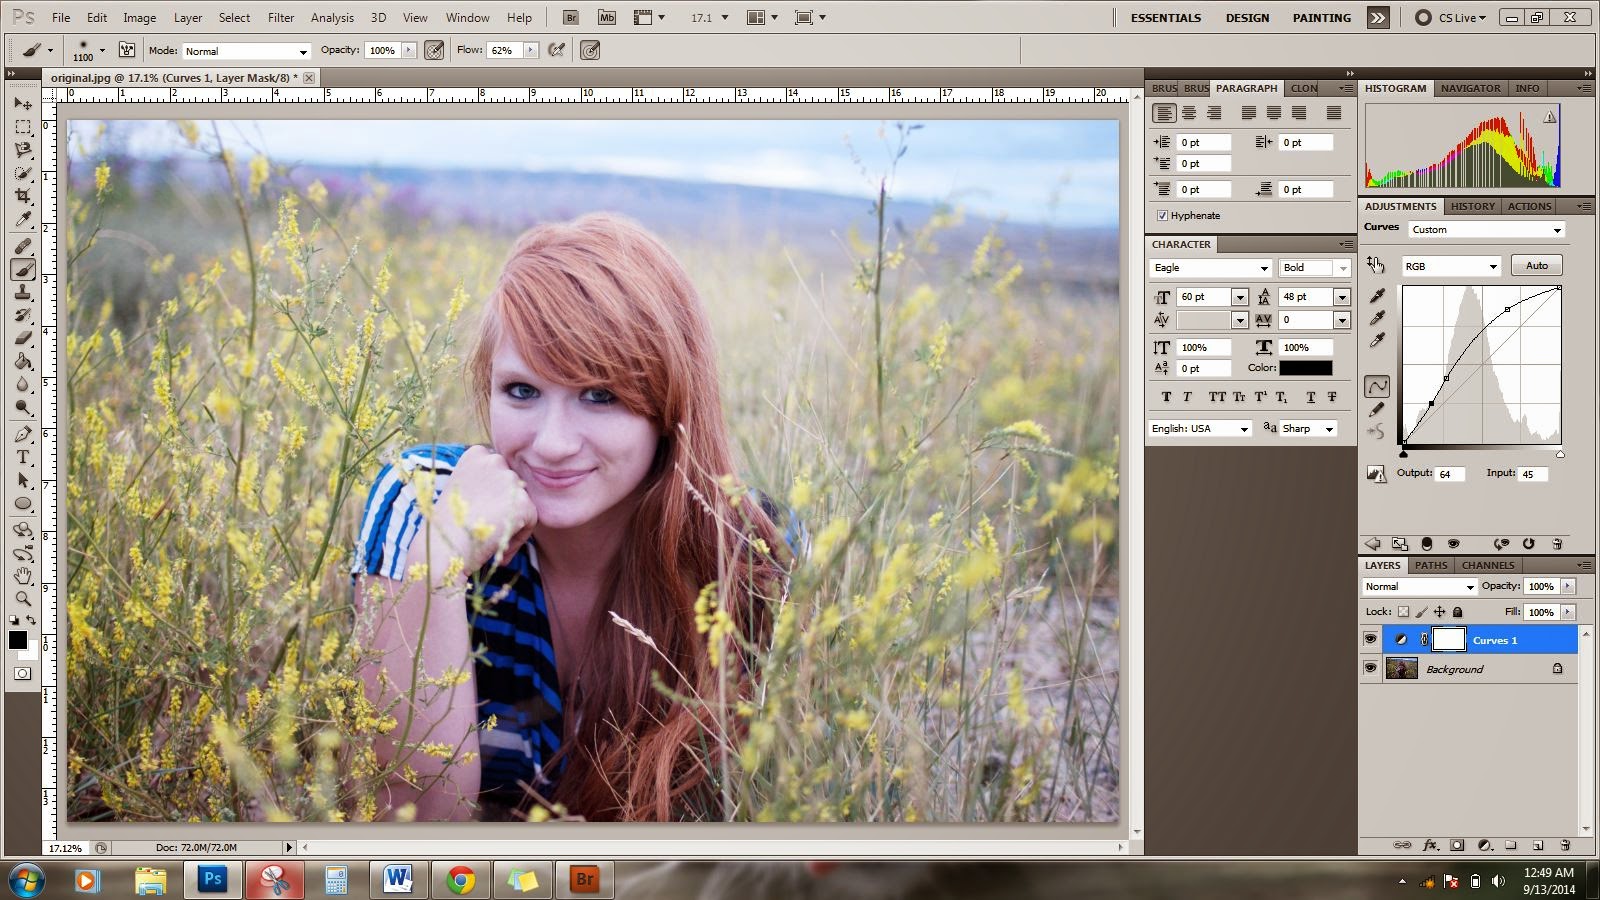
Photoshop's curve adjustment tool is standard in my Photoshop workflow. It is a fast and easy way to pump up contrast, increase vibrancy, and adjust exposure. In this tutorial I will unlock the secrets of my techniques and show you how to utilize the curve tool's full potential.
This is my photograph from before and after:
Photoshop has a list of adjustments you can use to edit an image. Adjustments include, curves, selective color, and brightness and contrast. Every adjustment creates a new layer that looks something like this:
The eyeball signifies the layer is showing, the black and white circle indicates it is an adjustment layer, and the white box is a layer mask. Layer masks are wonderful because they allow you to remove part of the layer without deleting it. To delete part of a layer you paint (with the layer mask selected) on your image with black. To retrieve that information again, you paint with white.
So here we are with our original image. As you can see it is pretty low contrast and colorless. We can fix that with the curves tool which I have circled here:
The most flattering curve adjustment features a slight "S" curve. It may look something like this:
This is a pretty exaggerated adjustment but it visually gets my point across. Two points on your line are usually all you ever need. Too many points might make the image look strange or awkward. Only use more once you are more comfortable. Also, remember that curve adjustments are very sensitive and slight curves make a big difference.
I focused completely on my model's skin and made a curve adjustment that flattered her most. I lightened my image up A LOT but now the background and my model's hair is too bright and has no contrast.
To fix this I select the curve's layer mask. Then my brush tool, (left side of the screen) set the color to black, and paint the background and my model's hair. Now her skin is bright and beautiful but the background isn't blown out.
The background is still pretty lifeless, so next I created a curves layer while focusing solely on the background. This made my model's face WAY too bright so repeating the last step, I selected this curve adjustment's layer mask. Then painted black over my model's face.
This is the image after painting the layer:
With such pretty hair, its important that it gets the attention it deserves. I wanted it brighter and with heavy contrast. This was my curve adjustment for her hair.
Instead of painting black over the ENTIRE image except her hair, I thought it would be fast to reverse my process. With the paint bucket tool (left side of work space) I painted the entire layer mask black, essentially removing all of its information. I then selected my brush tool again and painted her hair with white to add in the curve's information. I also slightly lowered the layer's opacity to make it look more realistic.
Now to get picky. My model has gorgeous blue eyes that I want to stand out. Curve adjustments for the eye can be bold and bright because it is covering such a small section.
After repeating the last step again,her eyes are bright and blue. I lowered the layer's opacity in order to make the curve adjustment look more realistic.
I added a slight vignette to the image by using the gradient tool.
I like use the color balance tool to adjust my colors. This technique is mastered only by messing around with it and seeing what you like. For this particular image, these were my settings. If I want an image to look more sunny, I select my highlights and add more yellow.
Like curve adjustments, color balance is very sensitive and it doesn't take much to add pops of color in your image.
After I set my color balance I was ready to flatten my image and save it.
Here is the finished product!
Photoshop is pretty awesome for that fact that there are hundreds of ways to do everything. What are some of your favorite techniques? I would love to know!
Also, if you have any questions or confusions let me know and I will be glad to help!


.jpg)
.jpg)
.jpg)
.jpg)
.jpg)
.jpg)
.jpg)
.jpg)
-3.jpg)
.jpg)
.jpg)
.jpg)